
Making dart flights with your personal logo or photo is a good way to put some personality in your darts. Whether it be for your team, an event, or for the fun of it, creating unique flights is simpler than you think.
Here, we will explain the steps you can take to make custom dart flights. You don’t need to be a professional graphic designer to make something special-just a few simple tools and an ounce of imagination. So, let’s fire up your mind.
What You Need to Get Started
Before you begin making your custom dart flights, you need a few tools and materials. Here’s a list of what you will need:
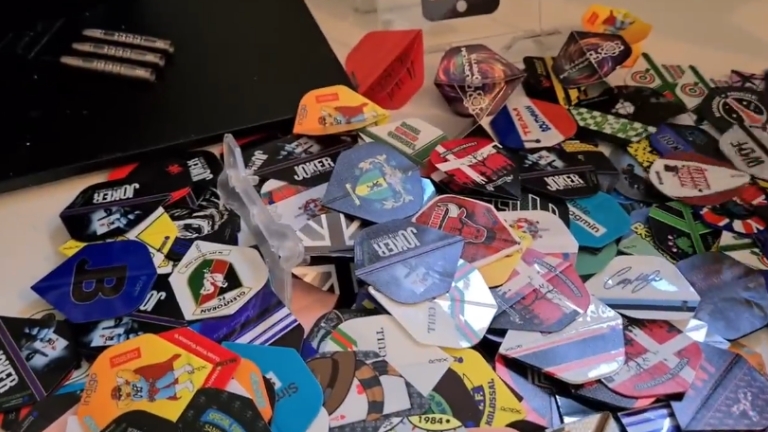
Dart Flights: First, you need a set of plain dart flights. These are available in many shapes, including standard, slim, and pear. You can choose any style, but keep in mind that the larger the flight, the more space you have to work with for your design.
Design Software: You will need a way to create or modify your logo or photo. You can use free or paid design software like Adobe Illustrator, Photoshop, or free tools like GIMP or Canva. If you’re working with a photo, make sure it’s of high quality so it prints well on the small surface of the dart flight.
Printer: To transfer your design onto the dart flights, you will need a printer. Ideally, this is an inkjet printer, as it can handle the printing of high-resolution images. However, some people prefer to use laser printers for sharper results.
Dart Flight Printing Paper: Special paper is available for printing onto dart flights. You can use a specific kind of sticker paper or printable dart flight sheets. These sheets allow you to print your designs directly onto the flight surface.
Scissors or a Craft Knife: After printing your design, you will need to cut out the printed area to fit the dart flight properly. A sharp pair of scissors or a craft knife will give you the precision needed to make neat cuts.
Clear Coat or Laminate: To protect your custom dart flights, you will need a clear coat spray or laminate. This will help your design last longer and withstand the wear and tear of regular use.
Dart Flight Glue: If you’re using printable stickers, you will need glue to stick the printed design to the flight. It’s essential to make sure the glue is applied evenly to avoid air bubbles.
How to Making Custom Dart Flights
Now that you have all the materials, let’s go step by step through the process of creating your own custom dart flights.
Prepare Your Design
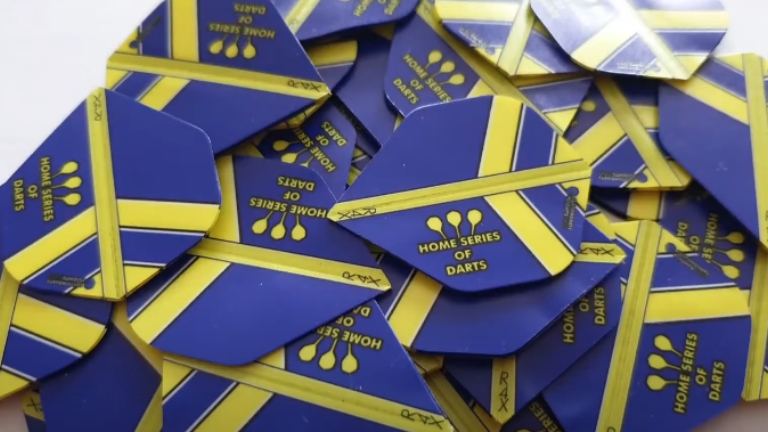
Start by creating the design you want for your custom dart flights. This could be a logo, a photo, or any image that represents your style or interests.
Pick the image you want to use. Make sure it fits the size of the flight, so keep it simple. The image should be clear and high-quality, as blurry or low-resolution images won’t look good when printed.
Resize the image to fit within the dart flight’s size, usually between 30mm and 50mm. Use your design software to adjust it, making sure the image keeps its original proportions and doesn’t get stretched or distorted.
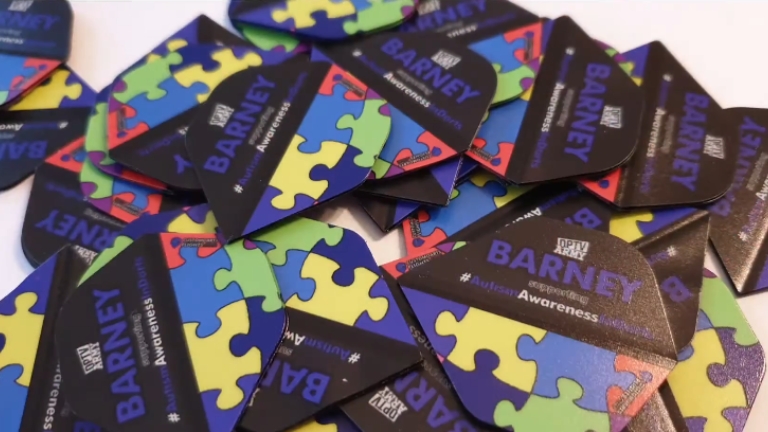
If you want to add text, like your name, a slogan, or a team name, do it now. Choose a clear, readable font, and place the text in a way that complements the image. Keep the text size balanced so it doesn’t overpower the design.
Once you are happy with your design, save it as a high-quality image file. JPEG or PNG are good formats to use, as they work well for printing and keep the image sharp.
Print the Design
With your design ready, it’s time to print it onto your dart flights.
Load your printer with the printable dart flight paper or sticker sheets. Follow the instructions for the paper you’re using. If you’re using regular paper, check that it’s compatible with your printer and set it to the highest print quality.
Before printing the final design, print a test on plain paper. This helps you check the size, alignment, and look of the design. If there are issues, like text being too small or the image off-center, adjust it before printing on the dart flight paper.
Once you’re satisfied with the test print, print your design on the dart flight paper. Make sure you’re printing on the correct side of the paper. If you’re using adhesive paper, the glossy side should face up for the best result.
Cut the Design to Fit the Dart Flight
After printing, you’ll need to cut the design to fit your dart flight.
Use scissors or a craft knife to carefully cut around the edges of your design. Take your time to ensure a clean cut. If you’re using adhesive paper, don’t peel off the backing yet.
Once cut, place the design on the dart flight to check the fit. If it’s too big, trim it down a little. The design should cover the flight evenly with a small border around the edges.
Apply the Design to the Dart Flight
Now that your design is ready, it’s time to apply it to the dart flight.
If you have adhesive-backed paper, peel off the backing to reveal the sticky side.
Line up the design with the dart flight. Press down slowly, starting at one edge, and smooth it as you go to avoid air bubbles. Make sure it sticks evenly.
If you’re using non-adhesive paper, spread a thin layer of glue on the back. Carefully press it onto the dart flight, smoothing it to avoid wrinkles or bubbles.
Protect the Design
To help your custom dart flights last longer, protect the design.
After applying the design, spray a light coat of clear spray over the flight. This will protect the design from fading or smudging. Let it dry completely before handling.
If you want extra durability, you can laminate the flight. Place it in a laminating sheet and run it through a laminator. This step is optional but adds extra protection.
Attach the Flights to the Dart Shafts
Once your dart flights are ready and dry, it’s time to attach them to the shafts.
Dart flights fit into the shaft through a small opening. Gently slide the flight into the shaft and make sure it’s secure. If it feels loose, adjust it or use a flight protector to hold it in place.
After attaching the flight, check that it fits properly and is stable. A loose flight can affect your throw, so ensure everything is secure.
Are Thicker Dart Flights Better?
Thicker dart flights can offer certain advantages, but they are not always better. Heavier flights help steady the dart, making it less likely to wobble during flight. This stability can improve accuracy and consistency, especially for beginners.
However, thicker flights also create more air resistance, which may cause the dart to travel slower. Players with a faster throwing style or lighter darts might find thinner flights more effective.
Ultimately, the best flight thickness depends on personal throwing technique and comfort. Trying different flight styles and experimenting with your setup will help you decide what works best for your game.
Are Molded Dart Flights Good?
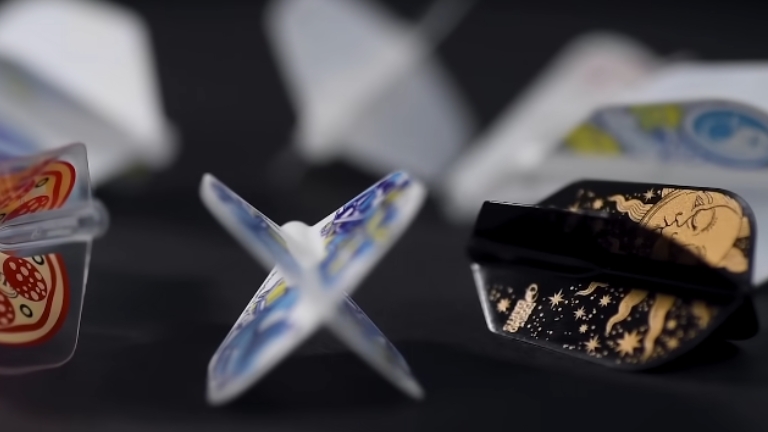
Dart molded flights can be an excellent option for many players, as they are firm, consistent, and very much easy to keep. Unlike traditional dart flights, molded flights will not need any adjustment or tuning in playing.
They retained their shape and provided an excellent degree of accuracy. These molded flights minimize bending or tearing out during playing also. As molded flights hold its shape, usually it improves dart and flight path stability.
That is not preferred by all, anyway. Some players find this lack of flexibility a drawback, while others like their sturdiness. Ultimately, whether molded dart flights are “good” depends on personal preference and how you value durability and performance.
Why Punch a Hole in a Dart Flight?
Punching a hole in a dart flight helps improve the dart’s stability and flight path. By creating a hole, you can attach the flight securely to the shaft, reducing movement or wobbling during a throw.
This modification also lowers the chance of flights falling off mid-game, especially during high-impact throws. A tighter, more stable flight connection ensures consistent performance and better accuracy.
For players using metal rings or springs, punching a hole aligns the flight perfectly with these accessories, enhancing the dart’s overall balance. This simple adjustment is a practical solution for players seeking reliability and precision in their game.